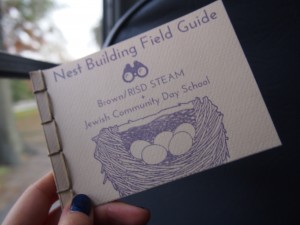
This past fall, students from the Brown/RISD STEAM club came to JCDSRI to give interdisciplinary lessons to tie together what the students were learning in different classes. Anthony Peer (RISD Industrial Design ’16) and assistant Soo Hyun Shin (RISD MFA Graphic Design ’15) led Avian Architecture, a workshop that gave the 3rd and 4th grade students a hands-on look into the construction of a bird’s nest. Below are some thoughts from Anthony.
Gathering Materials at Blackstone Park
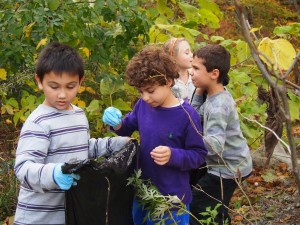
A very important aspect of the lesson was to allow the students to get outside and experience what it is like to collect nesting materials. For this we took our first day of the workshop and went to Blackstone Park in Providence to collect some nesting materials and receive their field guide notebooks as guidelines for collection. To emphasize the difference between reading about the materials used and actually knowing what the proper size, flexibility, and type of twig necessary to make the structure of a nest we looked at good and bad examples I collected. Being able to pick up a twig and recognize whether or not the twig they are picking up has the proper qualities for the making of a nest was vital to understanding the selection process that a bird goes through.
The students in the class were able to have a learning experience, which was centered on creating something for the purpose of learning more about a topic in science rather then making for a standard arts and crafts based lessons. A biologist or an archaeologist wouldn’t be able to learn about a topic from sitting in the library of a university their whole career, so in many cases they go out into the field to experience the subject they are trying to learn more about up close and personal. Being able to learn in the field rather then a classroom was vital to showing the students the complexity in the development of a nest, as well as view the effects that our waste has on the environment through material collection.

Making Their Bird’s Nest
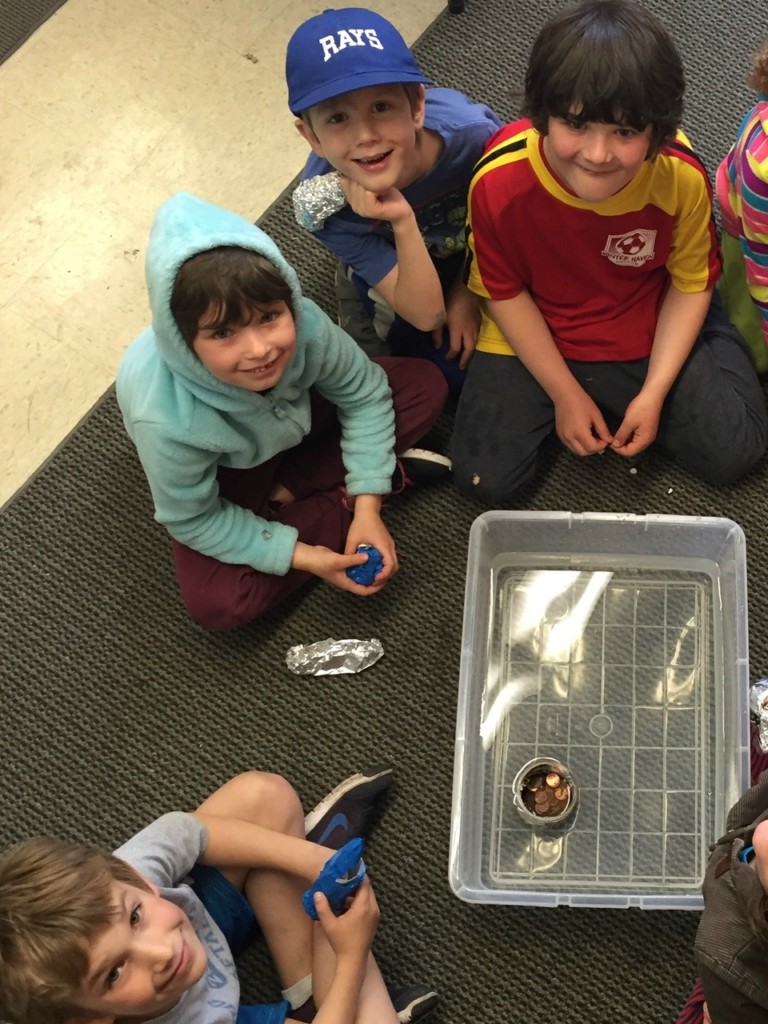
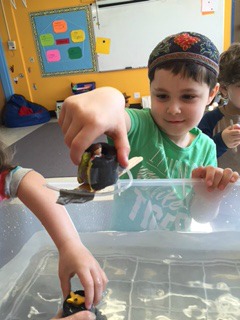
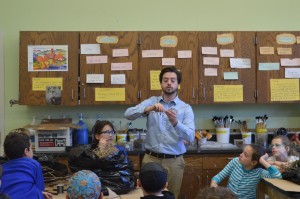
Each of the students was given the materials that they had collected on our outing to Blackstone Park and were asked to make a nest using these materials. Before we began the making portion of the workshop we went over some of the materials we gathered, and using real birds nests borrowed from the RISD Nature Lab observed the individual construction process of multiple bird species.
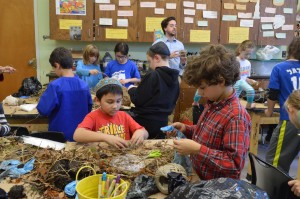
Interestingly enough the children that decided to not use the wireframe structures provided for them made very convincing looking nests using the techniques shown in cup and woven nests. Students that had a little bit more difficulty in the development of their nests that choose to utilize the wireframe were then able to quickly put together a nest in the same amount of time as those who did not use a wireframe. Being able to cater the learning experience to all of the students involved allowed for a pleasant and constructive time of making. Ultimately each student had an interesting approach to the making of their individual nests, and although not perfect representations of how a bird makes its’ nest, they were very intuitive responses to what they learned about nest construction.

What the Students Learned
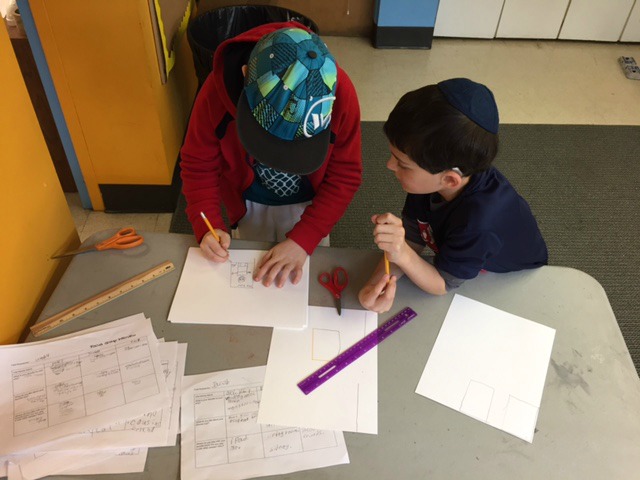
In completion of the workshop the students were able to evaluate their own nests in relation to the actual nests that were shown prior to the making portion of the lesson. Having time for reflecting on the lesson and observing the work that they did during the workshop allowed the students to see how difficult it was to replicate a nest, as well as have a more in depth look into the different materials they used in making their nests. The students were asked to do a simple sketch of their nest as well as answer some questions as to the setting in which their nest could be found, and to describe the type of bird that lives in it. Being able to sketch the nest and observe it from a different viewpoint allowed them to see the materials used differently. Many of the students had pieces of trash and plastic in their nest, which they hadn’t noticed prior to the completion of the nest. Enabling the students to take a step back from what they had made and sketch the product of the work they had done during the workshop allows for a more broad understanding of the lesson as a whole.
In asking the students what was the most difficult part of the making their birds nest many responded with not being able to keep the nest together or not being able to start their nest because they didn’t know where the starting point was. In closing the lesson I wanted to try and get this across to the students that our inability to replicate these pieces of avian architecture gives us that much more of a responsibility to protect the environment in which they are created. Besides trying to replicate a bird’s nest the students hopefully went home with greater appreciation for the environment and their ability to make positive change for the protection of the wonderful structures that nature displays.
How can this be used in other facets of teaching?
Developing a learning experience that involves being able to have hands-on interaction with the materials used in nature is vital to a more practical understanding of structures found in nature. Being able to fully understand the process by which structures in nature are constructed there needs to be an experiential aspect to the study of those structures. The ability to not only observe what is in nature from a far, but to put the student in a position to have a tactile relationship with the materials that are used encourages a broader understanding of the subject. Encouraging learning through making should be a necessary component to any teaching structure and this nest-building workshop is but one way to get students out into the field to experience the wonders of our natural world.
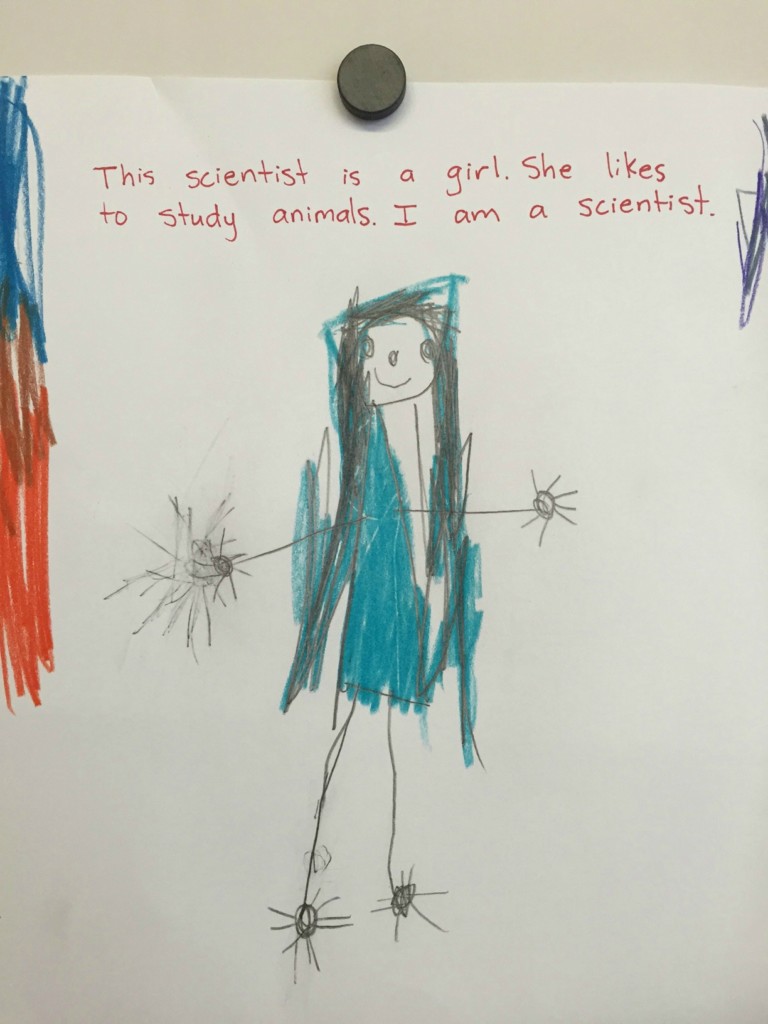
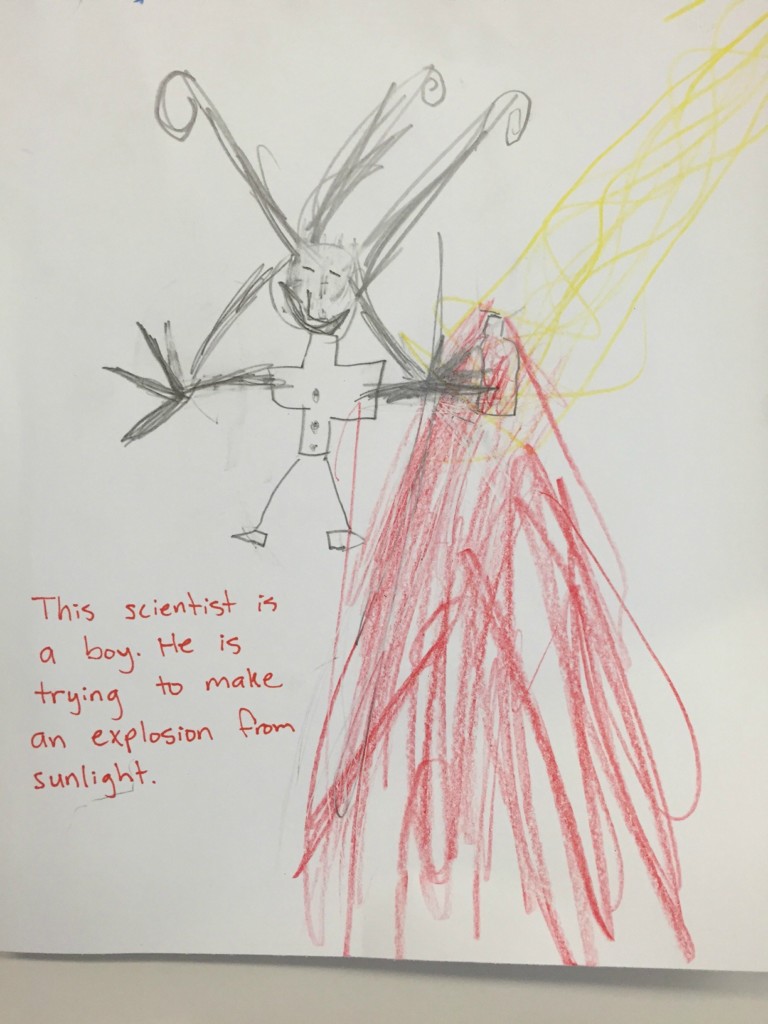 Here’s a challenge for you: quickly sketch a scientist. Easy, right? You might be thinking lab coat, eyeglasses, crazy hair, test tubes everywhere, computers, and oh… male.
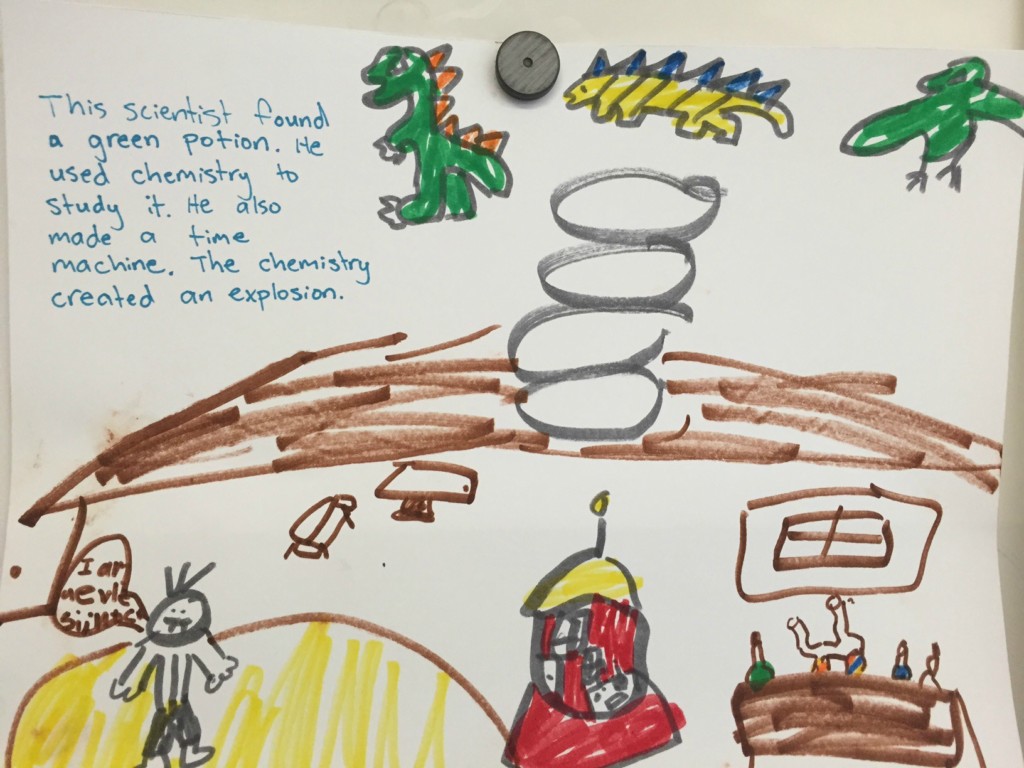 how many people envision scientists. Here is an article explaining these findings.